
TL;DR Register for QOps Community, install QOps in a GitHub repository from the License Cabinet, open a codespace, start the QOps Portal, add the QOps MCP server, and work with your repository from the chat.
Before you start
You need a GitHub account and an email address you can open. At the end, QOps runs in a GitHub codespace and is connected to your repository through the QOps Portal and the QOps MCP server, so you can work with the repository from the chat.
Phase 1. Create a repository and register
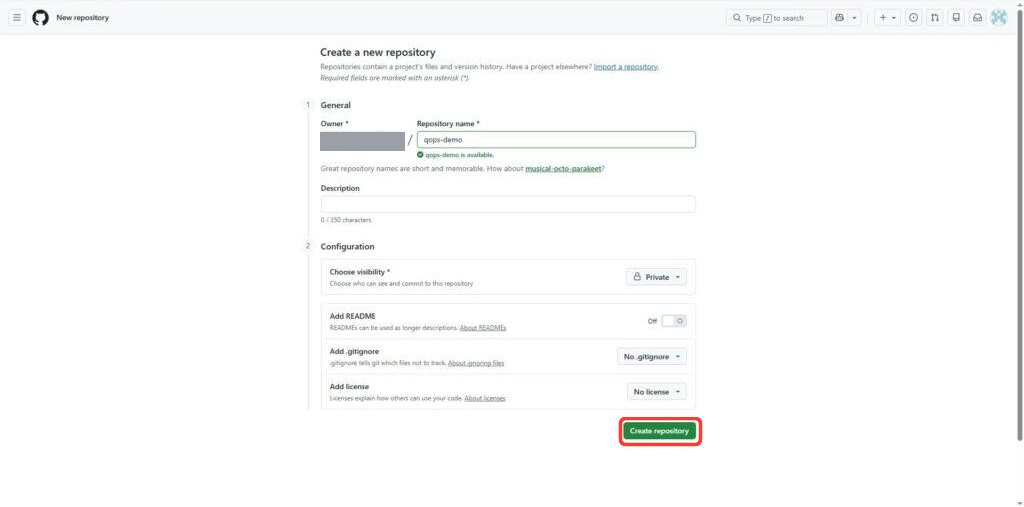
1. Create a new repository
On GitHub, create a new repository.
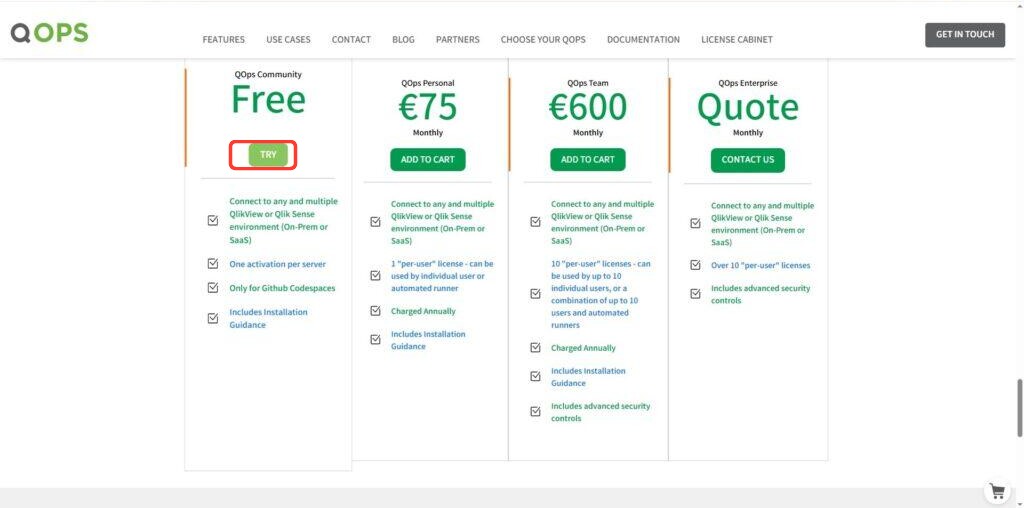
2. Choose QOps Community
On this site, go to the “Choose Your QOps” section and choose QOps Community.
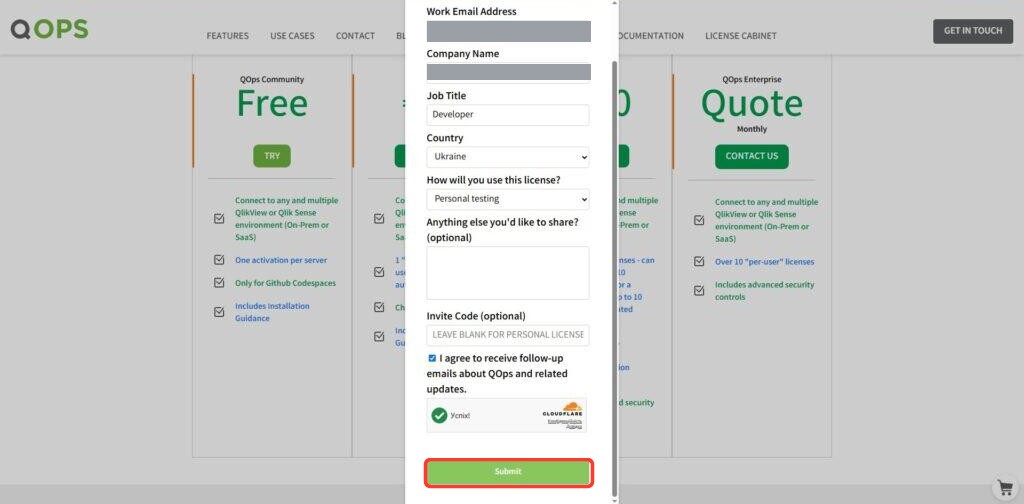
3. Fill in the registration form
Fill in the form and click “Submit”.
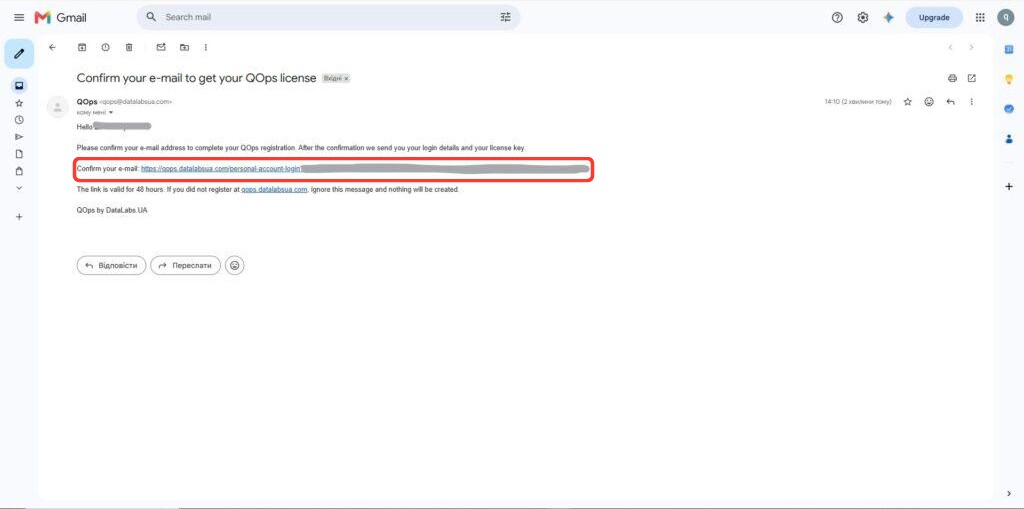
4. Confirm your email
Check your mailbox and follow the link in the “Confirm your e-mail” message.
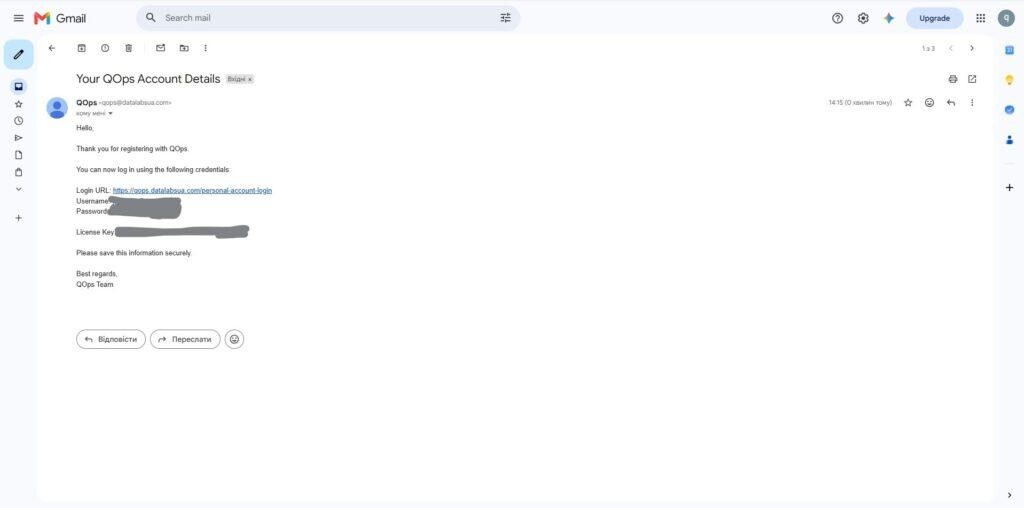
5. Open the account letter
Check your mailbox again for the letter with your account details.
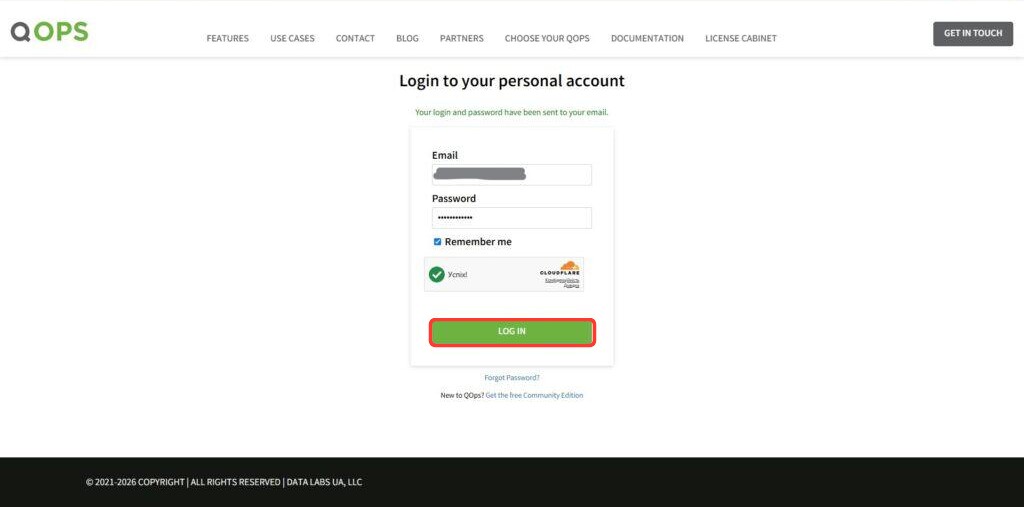
6. Log in to the License Cabinet
Open the License Cabinet section and log in with the email and password from the letter.
Phase 2. Connect GitHub
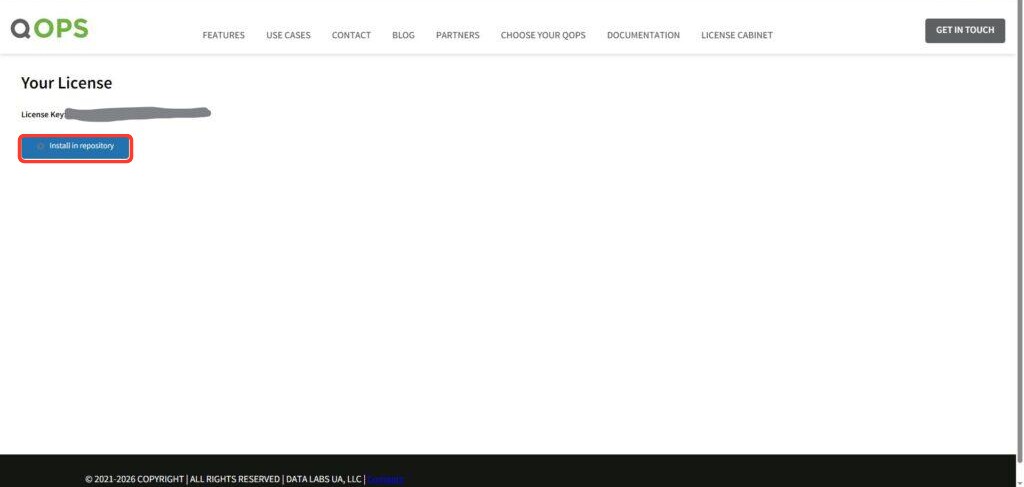
7. Click Install in repository
Click the “Install in repository” button.
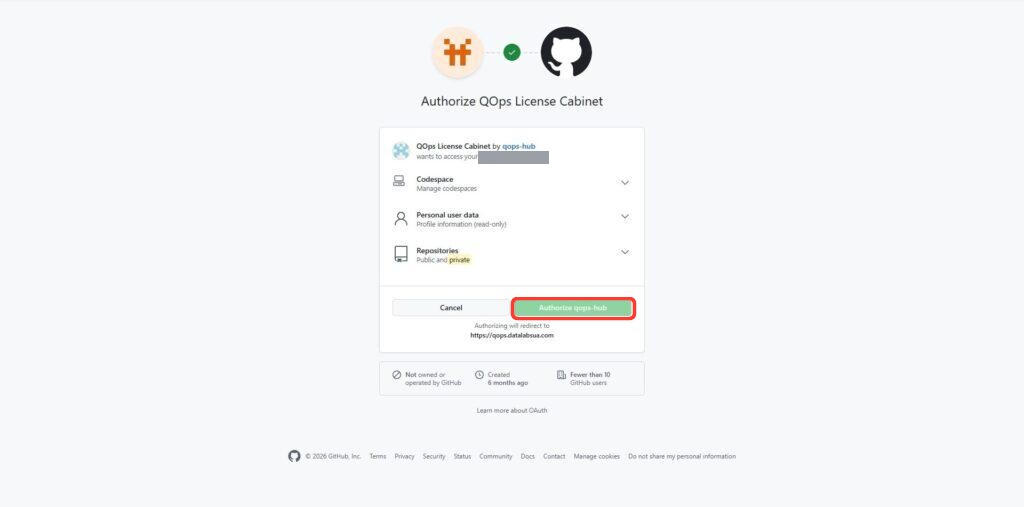
8. Authorize QOps on GitHub
You are redirected to an authorization page. It links your GitHub account with the QOps License Cabinet.
9. Choose your repository
The License Cabinet gets access to a list of your repositories. Choose the one you want to use for QOps.
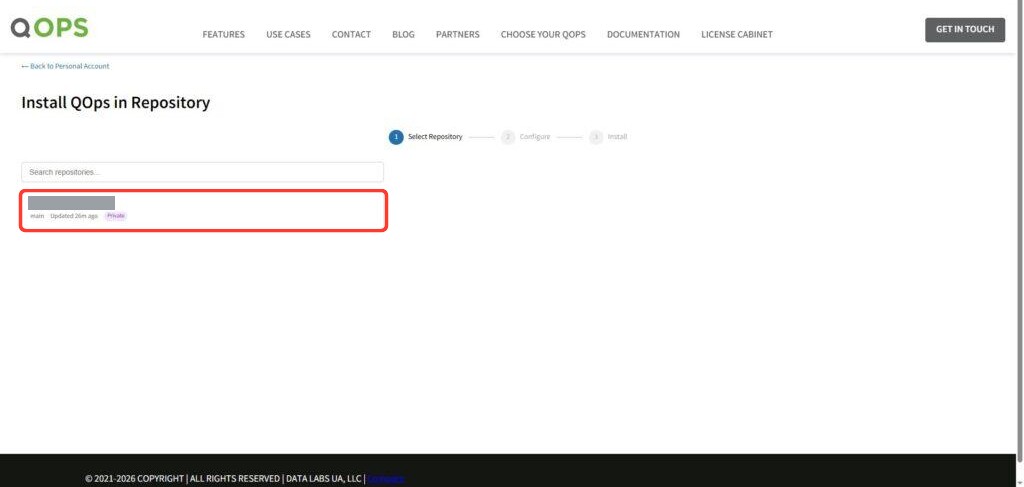
10. Finish the installation
Finish the installation. The page confirms when QOps is ready in your repository.
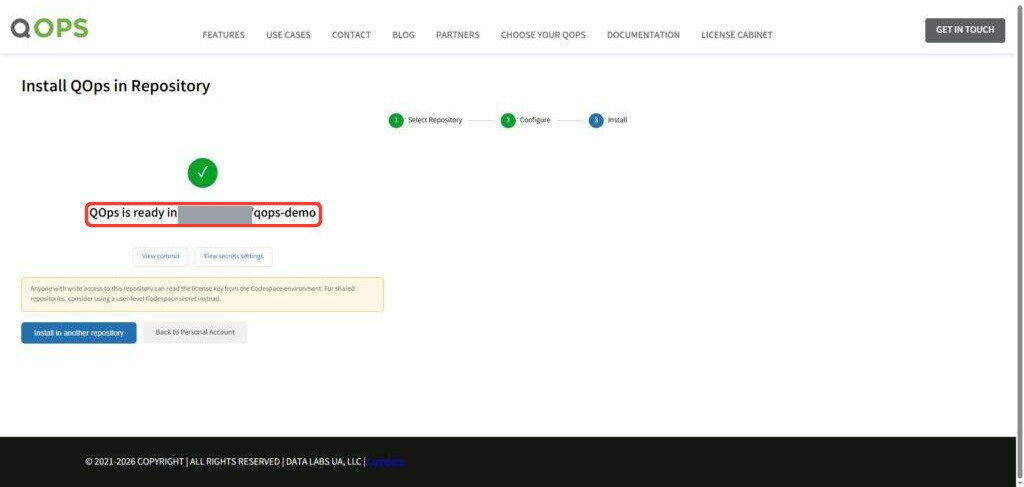
Phase 3. Open a codespace
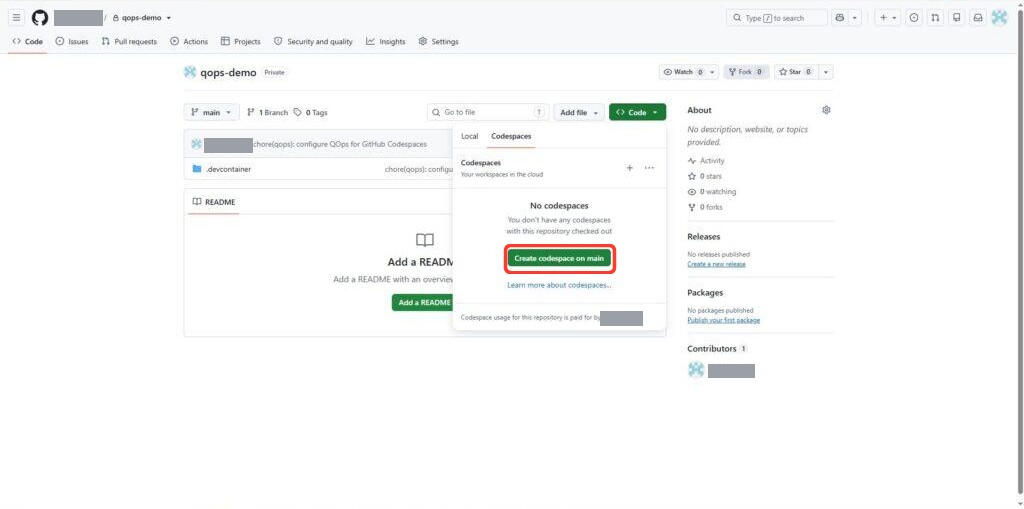
11. Create a codespace
Go back to your GitHub account and create a codespace in your repository.
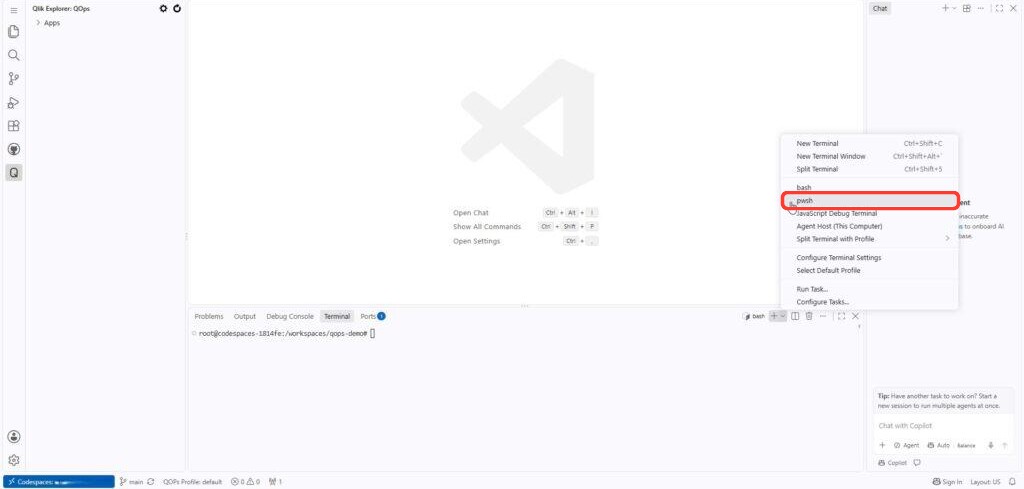
12. Trust the directory and choose pwsh
Trust the directory when asked, then choose pwsh.
Note: the QOps commands in the next steps, QOps-StartPortal and QOps-Configure, are run in pwsh.
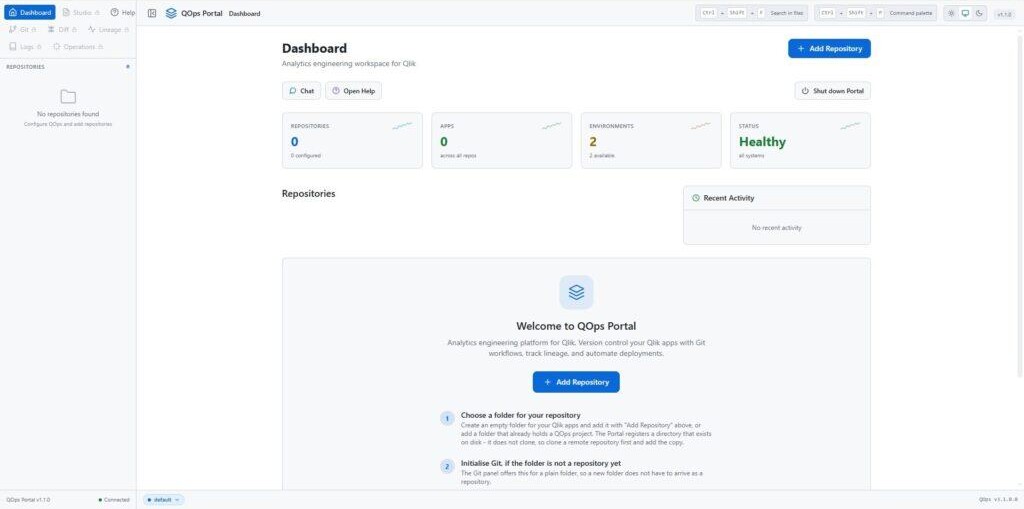
13. Start the Portal
Start the Portal with QOps-StartPortal. Allow it to open in a separate page.
Phase 4. Connect the Portal and the MCP server
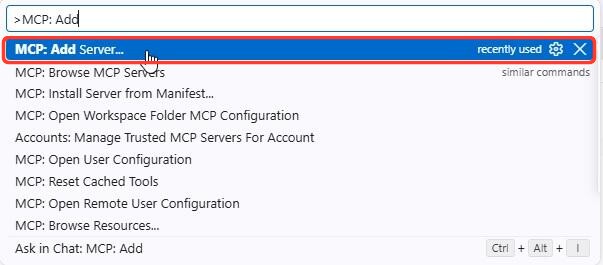
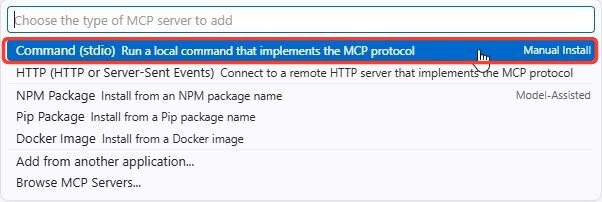
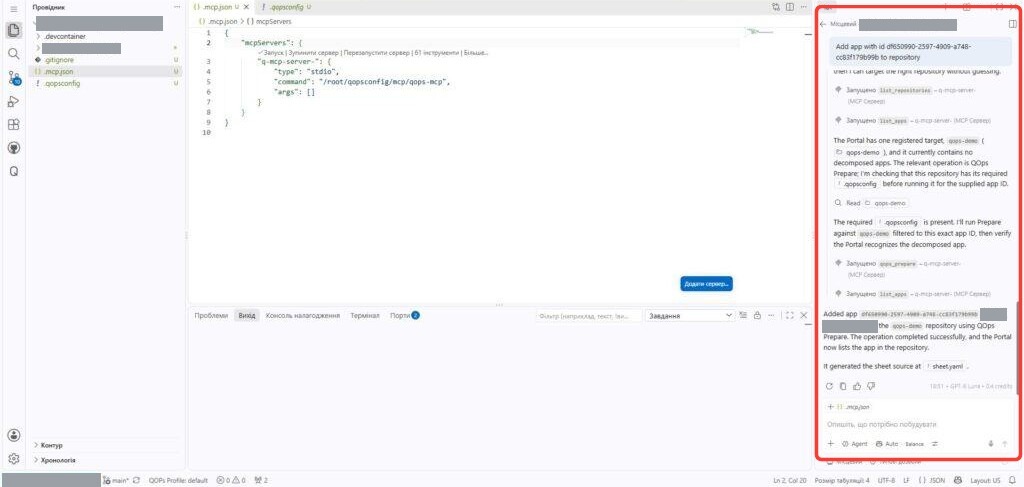
14. Add the MCP server
Add the MCP server with type stdio and this path:
/root/qopsconfig/mcp/qops-mcp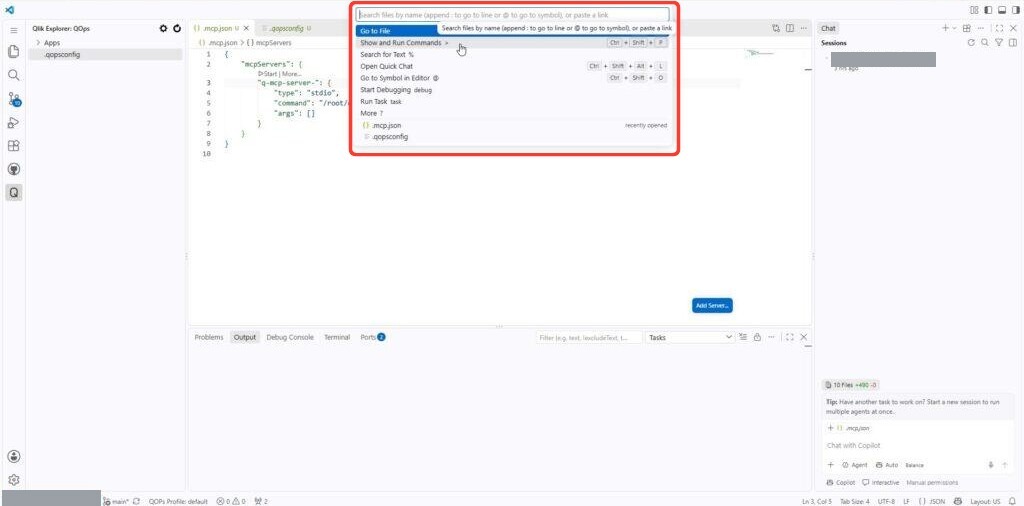


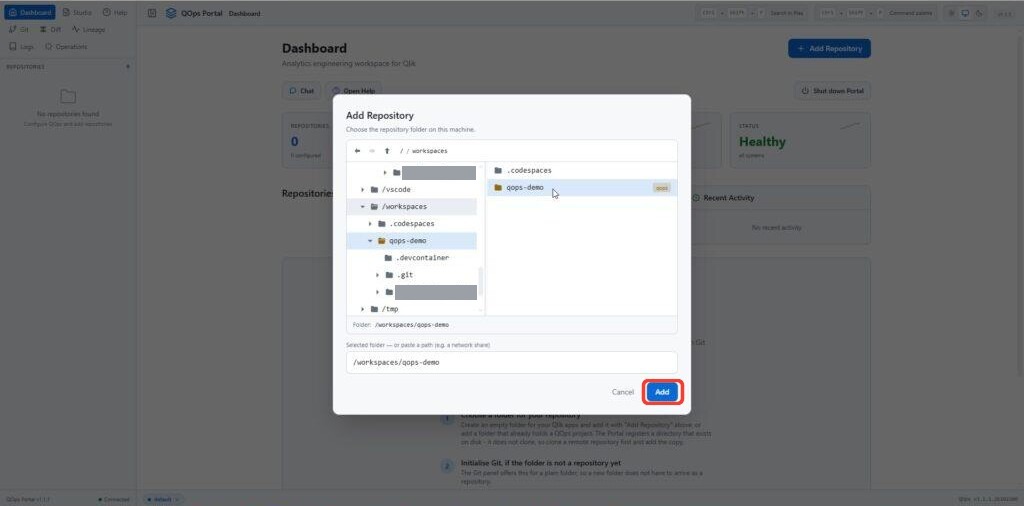
15. Add your repository on the Portal
On the Portal page, add your repository. Then configure the QOps profile in the Portal, or run the QOps-Configure command in pwsh.
Repository path: use /workspaces/<name of repository> as the path to the QOps repository folder.
In QOps 3.1.2 the repository is already in the list when the Portal starts inside a Codespace. Add it by hand only if it is missing.
16. Work with your repository from the chat
Switch back to your codespace. You can now work with the repository using the MCP server directly from your chat.
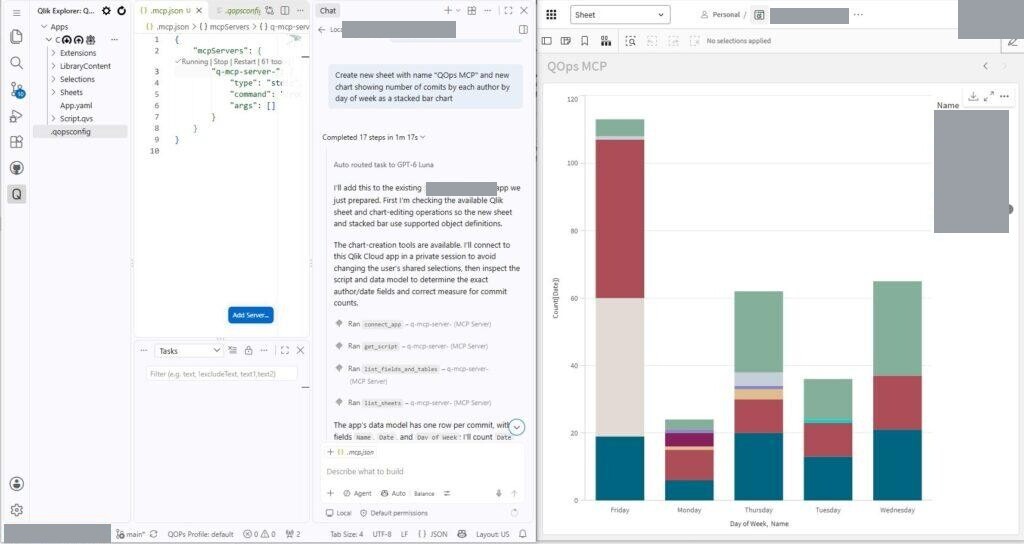
17. Create sheets and charts
Create new sheets and charts. Enjoy the result.
What next
- Read the GitHub Codespace documentation.
- Manage your license in the License Cabinet.
- See how QOps compares with other tools.
No comments yet. Be the first to share your thoughts!
Leave a comment