QOps supports Azure Active Directory (Azure AD) single sign-on (SSO) integration for Qlik Sense Enterprise Client-Managed. To enable this feature you need the following:
- An Azure AD subscription
- Qlik Sense Enterprise single sign-on (SSO) enabled subscription
- Cloud Application Administrator or Application Administrator privileges to add or manage applications in Azure AD
- Qlik Sense Administrator privileges
- Azure AD SSO Configured (for configuration and testing tutorial see this guide)
- QOps Installed
To use Azure AD integration the following steps should be performed.
I. Add users to Qlik Sense Enterprise Client-Managed app (by Application Admin):
- Sign in to the Azure portal (https://portal.azure.com) using your Microsoft account.
- On the left navigation panel, select the Azure Active Directory service.
- Navigate to Enterprise Applications and then select All Applications.
- Find in the list and open Qlik Sense Enterprise Client-Managed application.
- Navigate to Users and groups and click on Add user/group button.
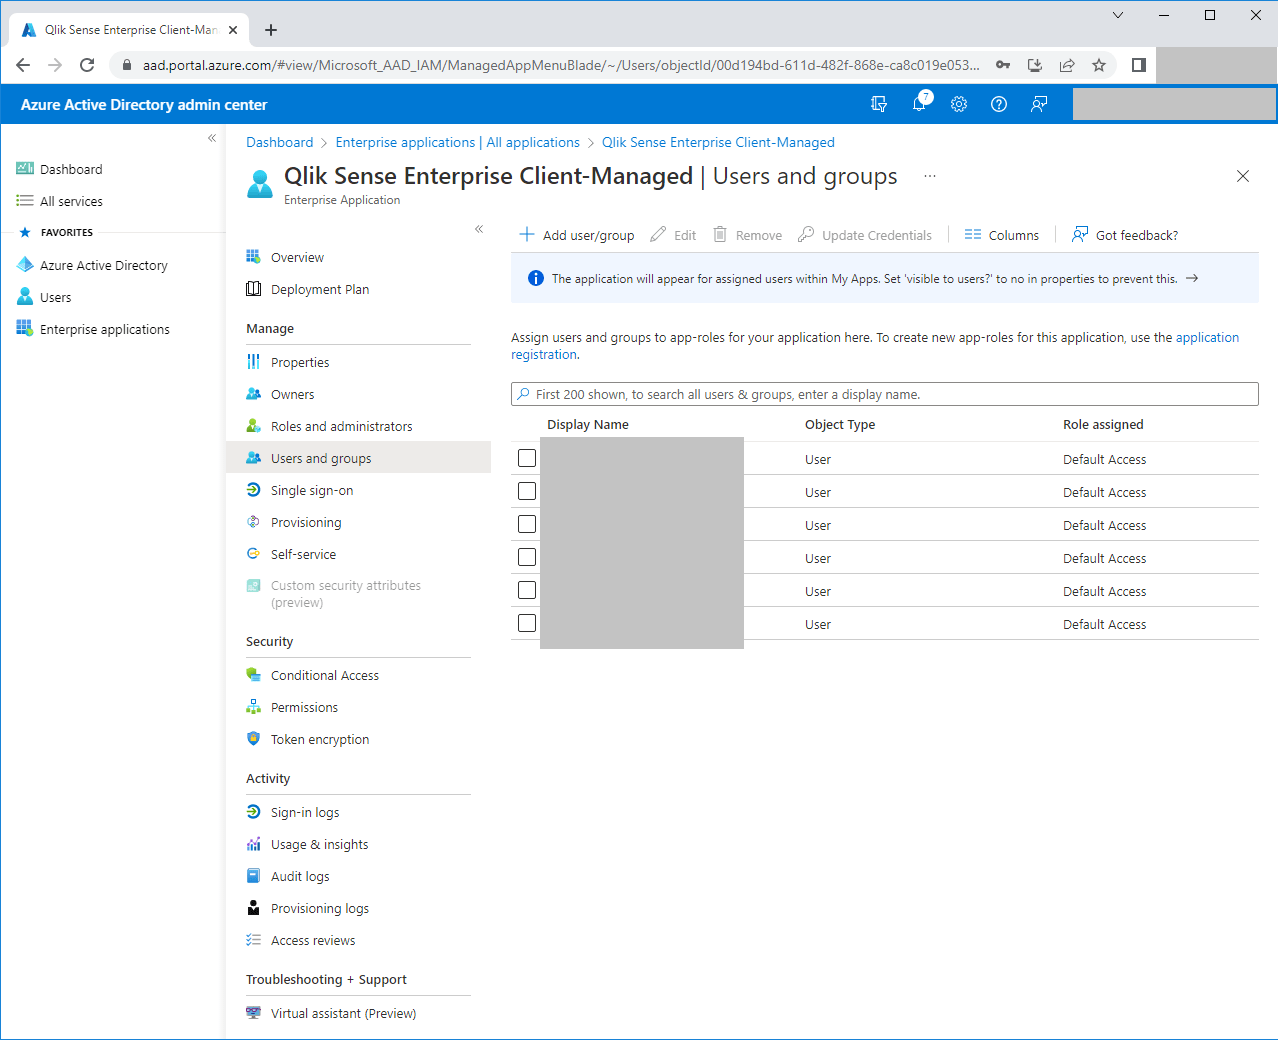
- Click on the None Selected link under the Users and select the user(s) you want to add.
- Click on the Select button and then on the Assign button to save changes.
II. New user's privileges and license allocation (by Qlik Admin):
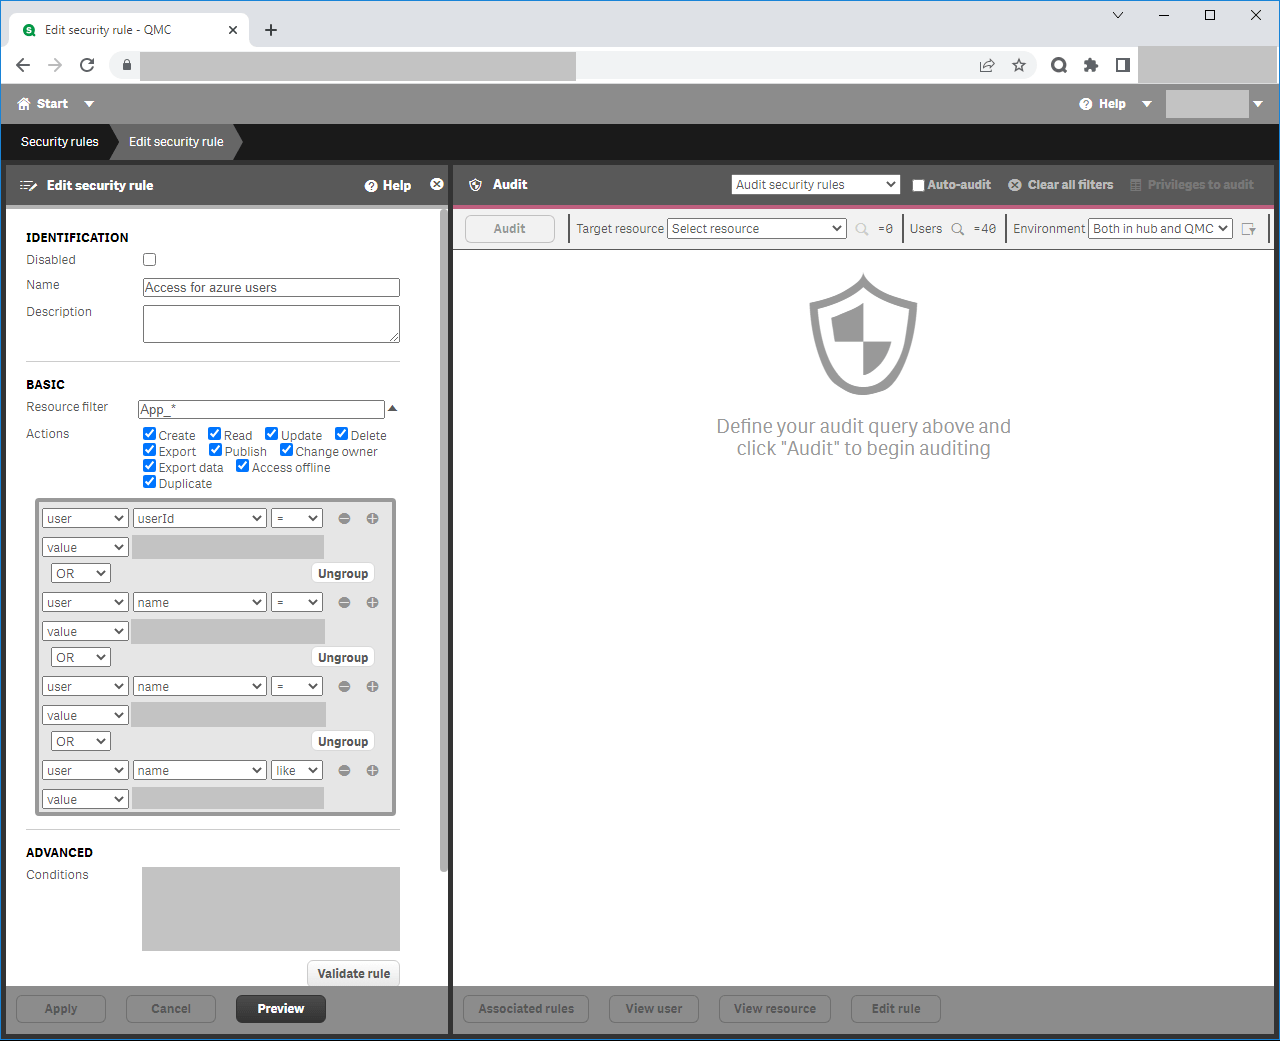
- Navigate to Qlik Sense QMC → Security rules.
- Add new or change existing rule to add privileges to new users depending on your preferences and apply all changes.
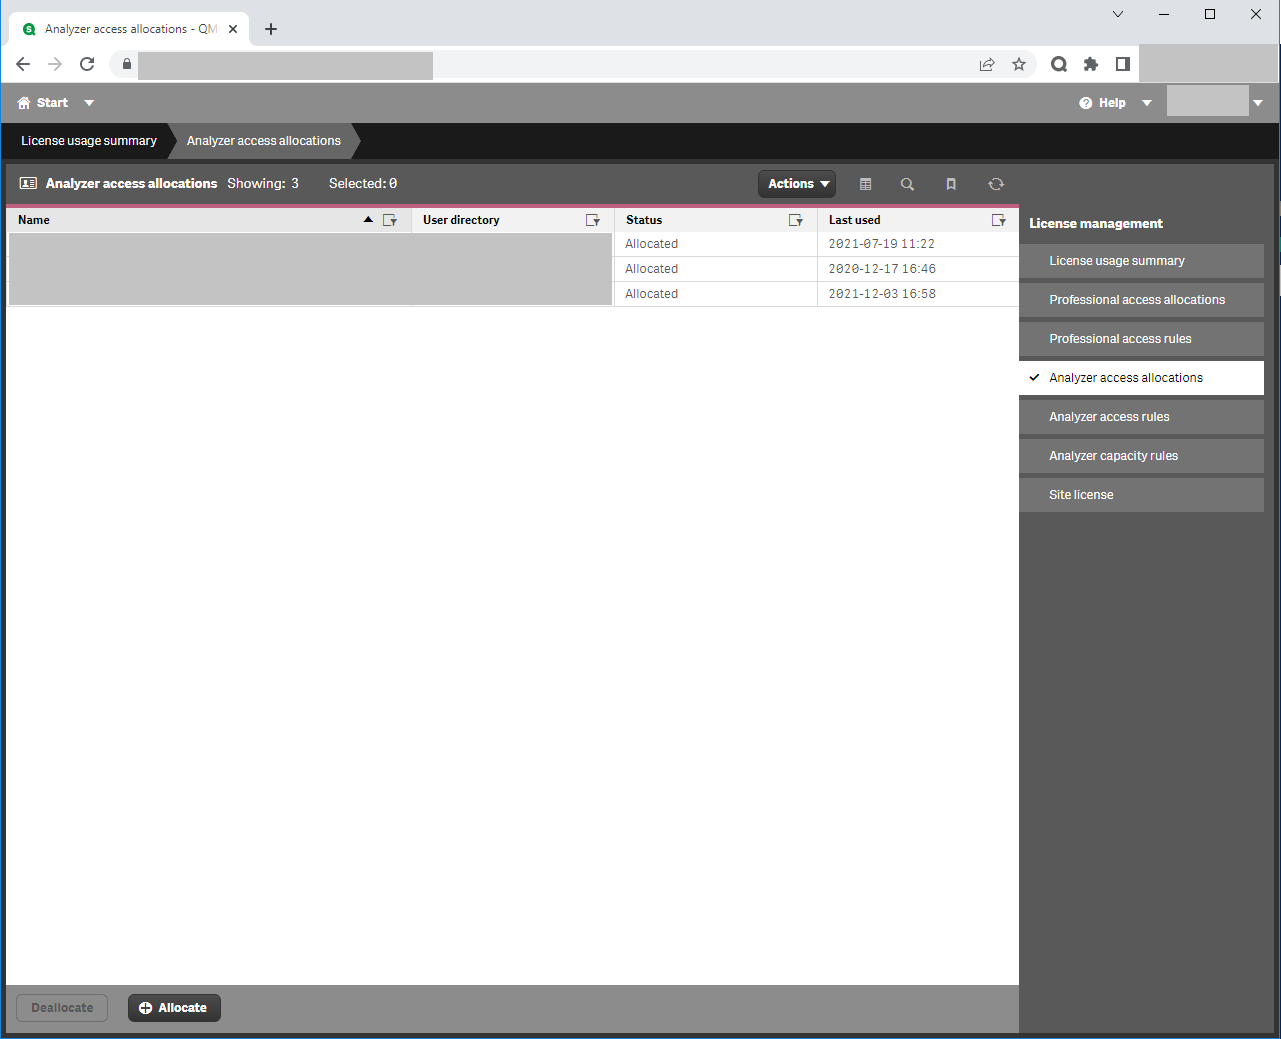
- Get back to the Start menu by clicking and navigating to the License management page.
- Make sure there are any available licenses and choose the appropriate line in the right-side menu for Professional or Analyzer access allocations.
- Click on Allocate button, select users from the list, and apply changes.
III. QOps app for Microsoft Azure registration and usage (by Application Admin):
- Go to Microsoft Azure.
- Navigate to Azure services → App registrations.
- If this app was already created by another user just click on the View all applications in the directory button and go to 7, if this app has never been registered before click on the New registration button.
- Enter a new app name (e. g. QOps) and choose the desired type of supported accounts.
- In the Redirect URI section choose the Public client/native (mobile & desktop) option and enter the following string into the text field:
http://localhost/
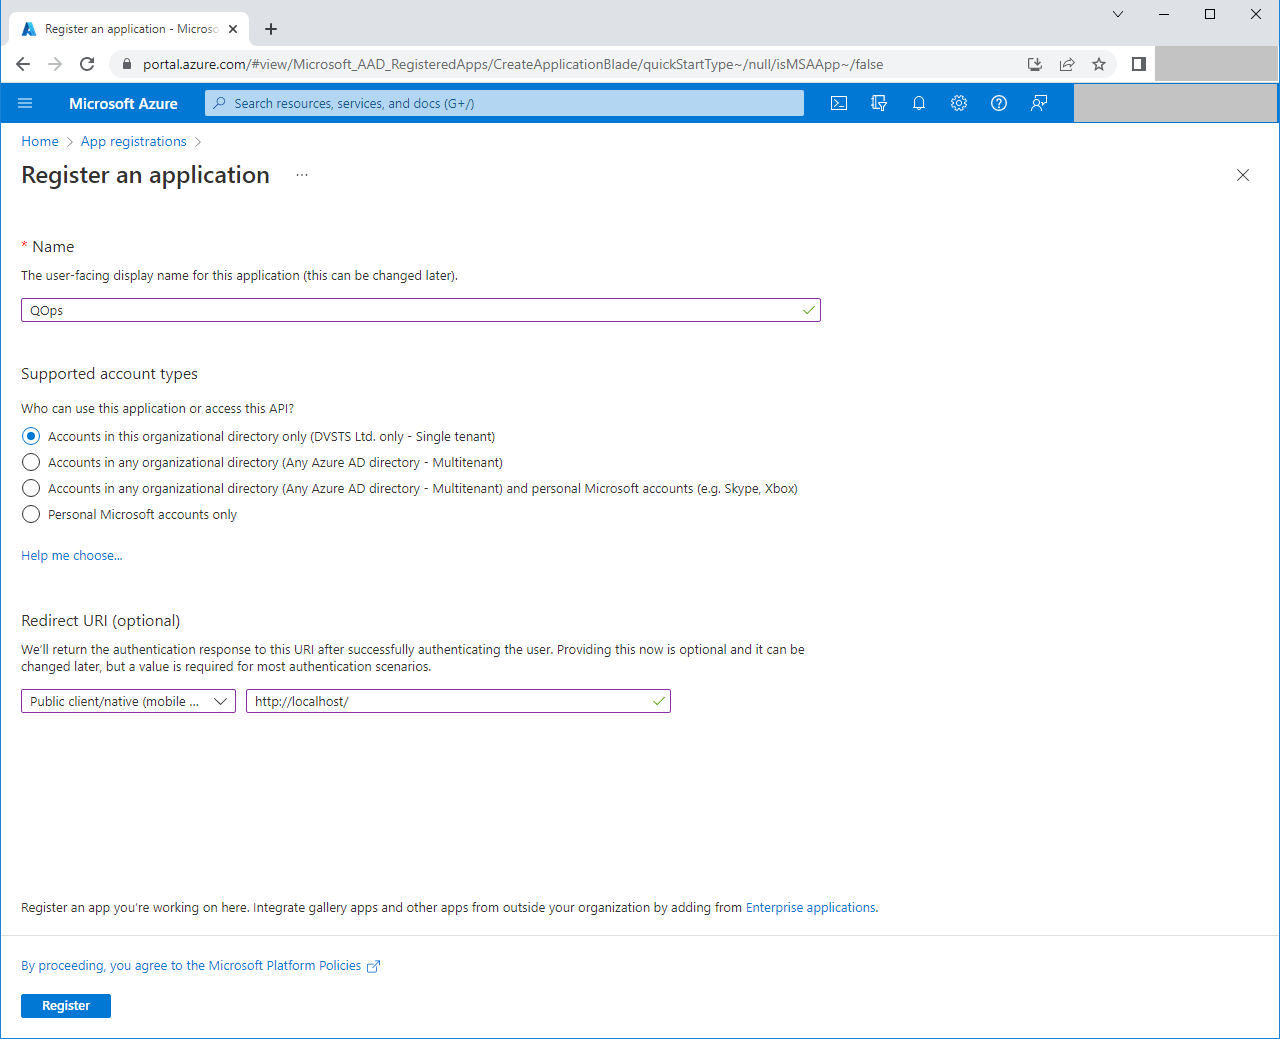
- Apply changes by clicking the Register button and coming back to App registrations.
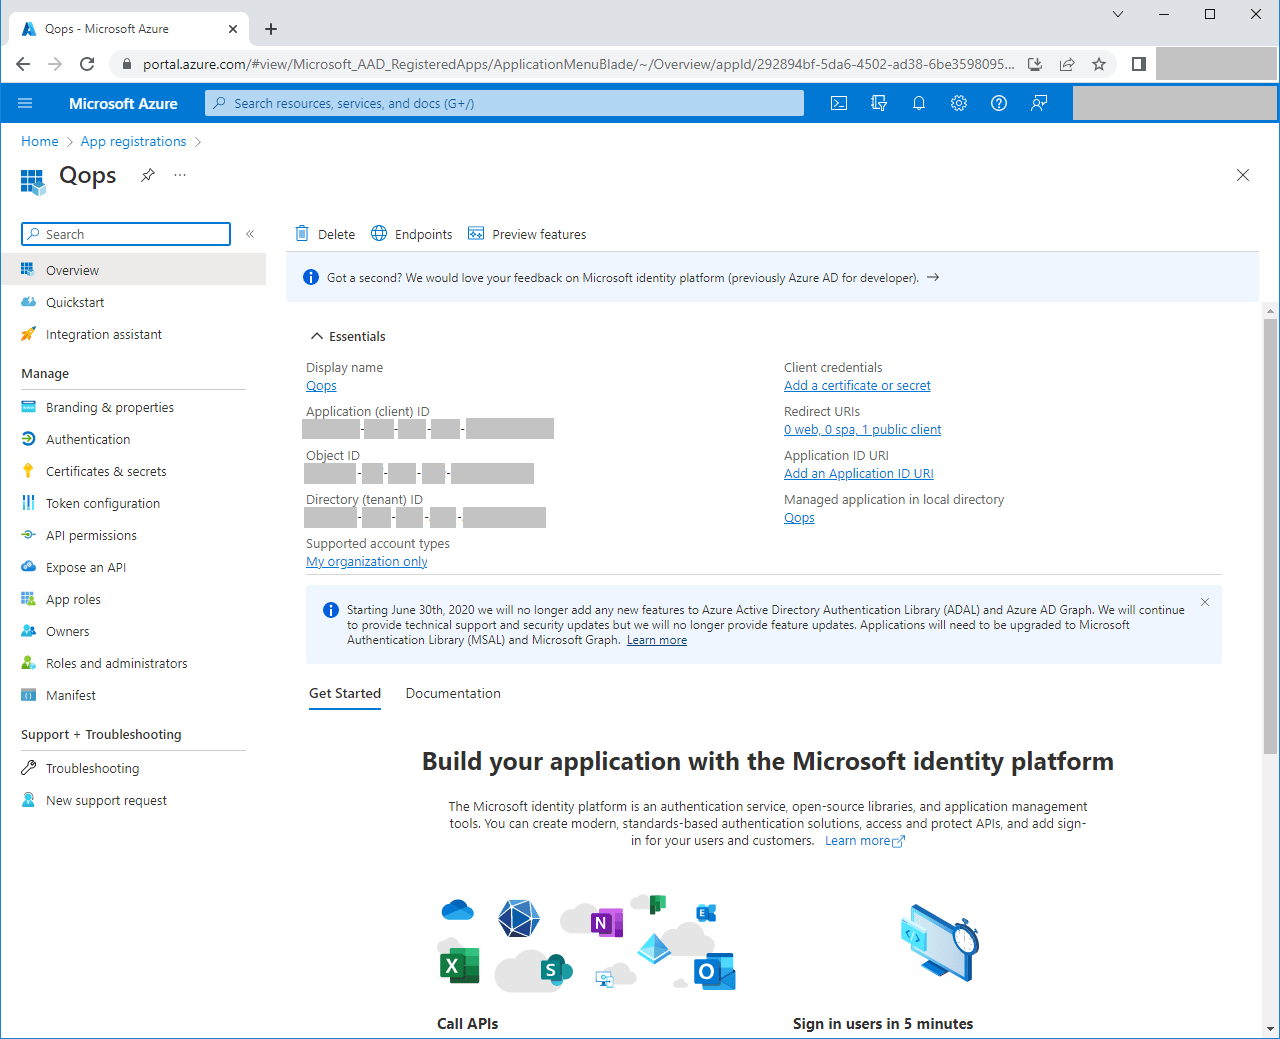
- Find it in the list and open the QOps application.
- Find and copy the values of the Application (client) ID and Directory (tenant) ID. You shall use them while configuring your QOps module in PowerShell.
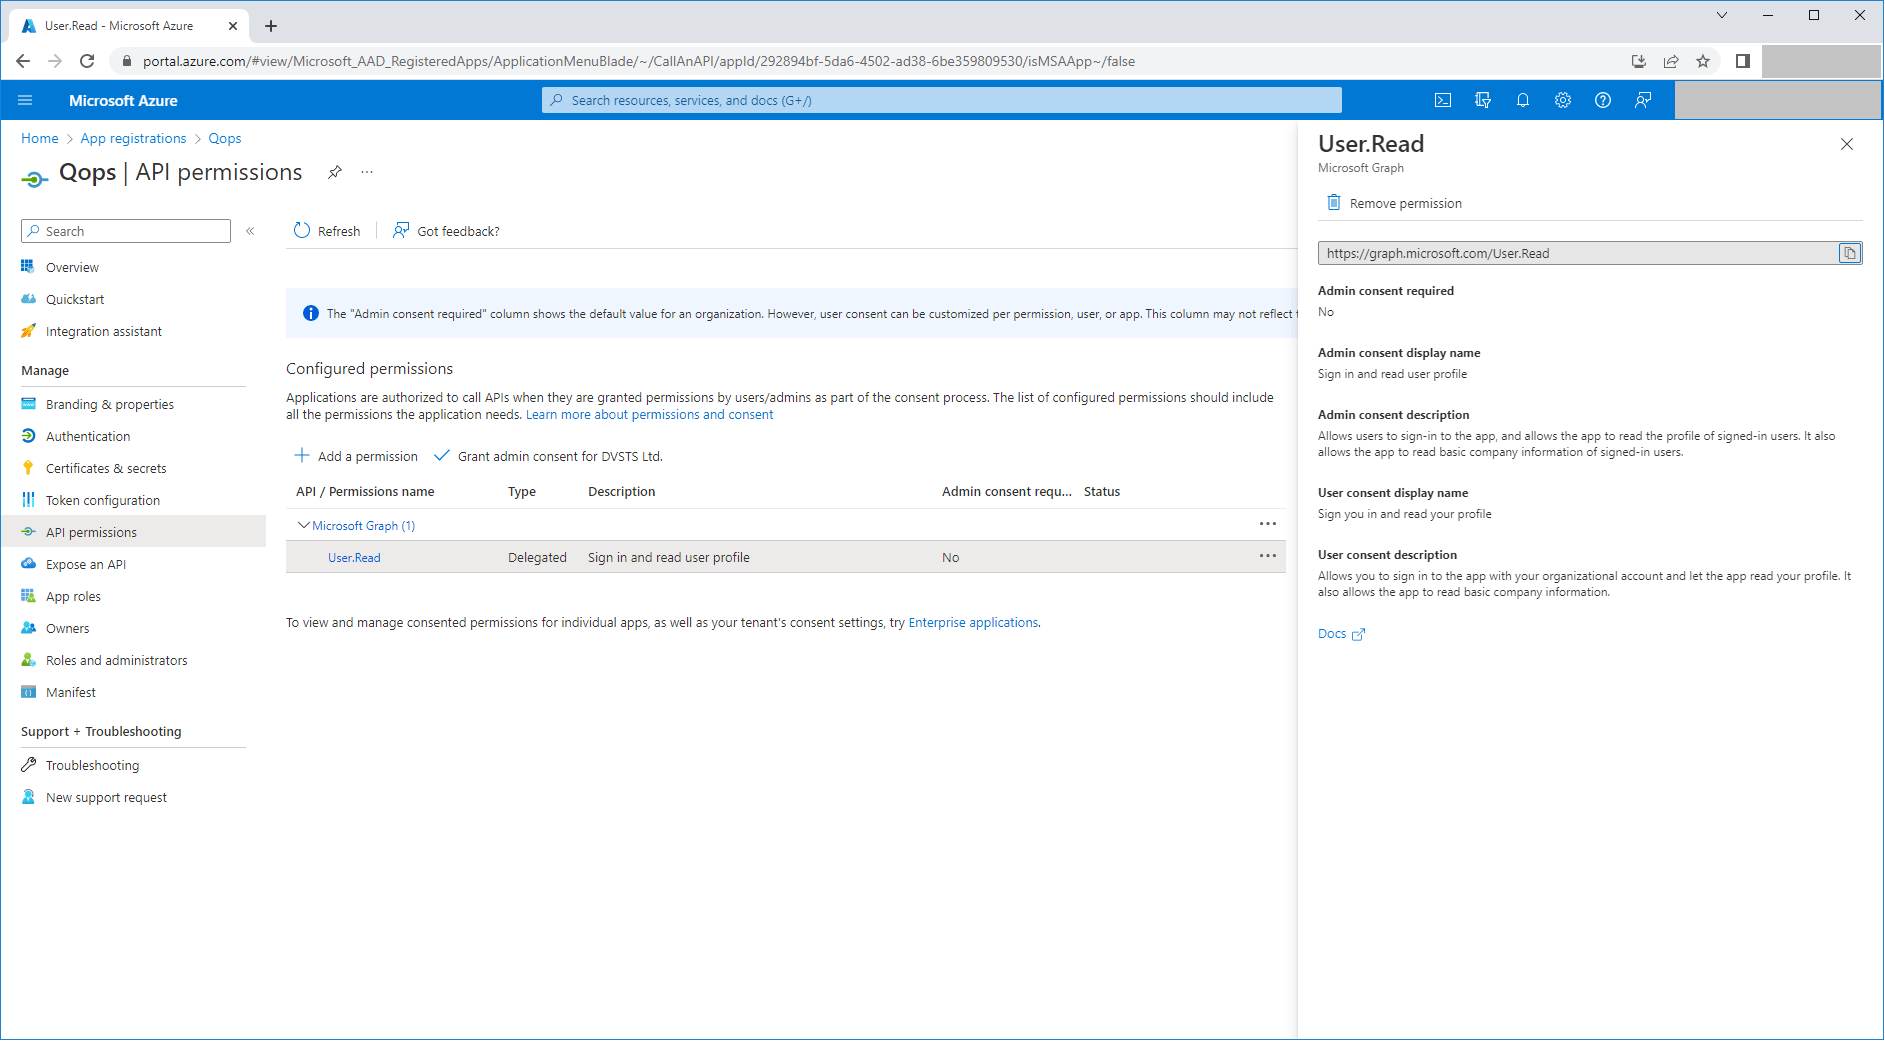
- Navigate to API permissions and click on the Add a permission button. Select Microsoft Graph → Delegated permissions → User → User.Read permission and apply changes by clicking on the Add permissions button.
IV. Edit QOps config file (by QOps user):
- In the QOps proxy folder find the appsettings.json file.
- Edit it to look like the following:
{

"Logging": {

"LogLevel": {

"Default": "Information",

"Microsoft": "Warning",

"Microsoft.Hosting.Lifetime": "Information"

}

},

"AllowedHosts": "*",

"QlikUrls": {

"EngineUrl": "yourdomain.com",

"QrsUrl": "yourdomain.com:4242/qrs",

"QpsUrl": "yourdomain.com:4243/qps",

"BaseUrl": "yourdomain.com:4747"

},

"Kestrel": {

"Endpoints": {

"Http": {

"Url": "http://localhost:8875"

},

"Https": {

"Url": "https://yourdomain.com:8876/",

"Certificate": {

"Path": "full-path-to-ssl-certificate.pfx",

"Password": "ssl-password"

}

}

}

},

"UserLicenses": {

"[email protected]": "XXXX-XXXX-XXXX-XXXX-XXXX-XXXX-XXXX",

"[email protected]": "YYYY-YYYY-YYYY-YYYY-YYYY-YYYY-YYYY",

...

},

"LoginLink": "https://login.microsoftonline.com/tenant-ID/oauth2/v2.0/authorize?client_id=client-ID",

"QlikCertificatePath": "full-path-to-client.pfx",

"QlikCertificatePassword": "client-certificate-password"

}
Make sure you change the values in bold so they conform to your ones. Use tenant-ID and client-ID which you have got from the QOps app in Microsoft Azure (III.8). - Apply changes.
V. QOps configuration (by QOps user):
- Open PowerShell.
- Make sure QOps is installed for the current user by executing a command
QOps-Version
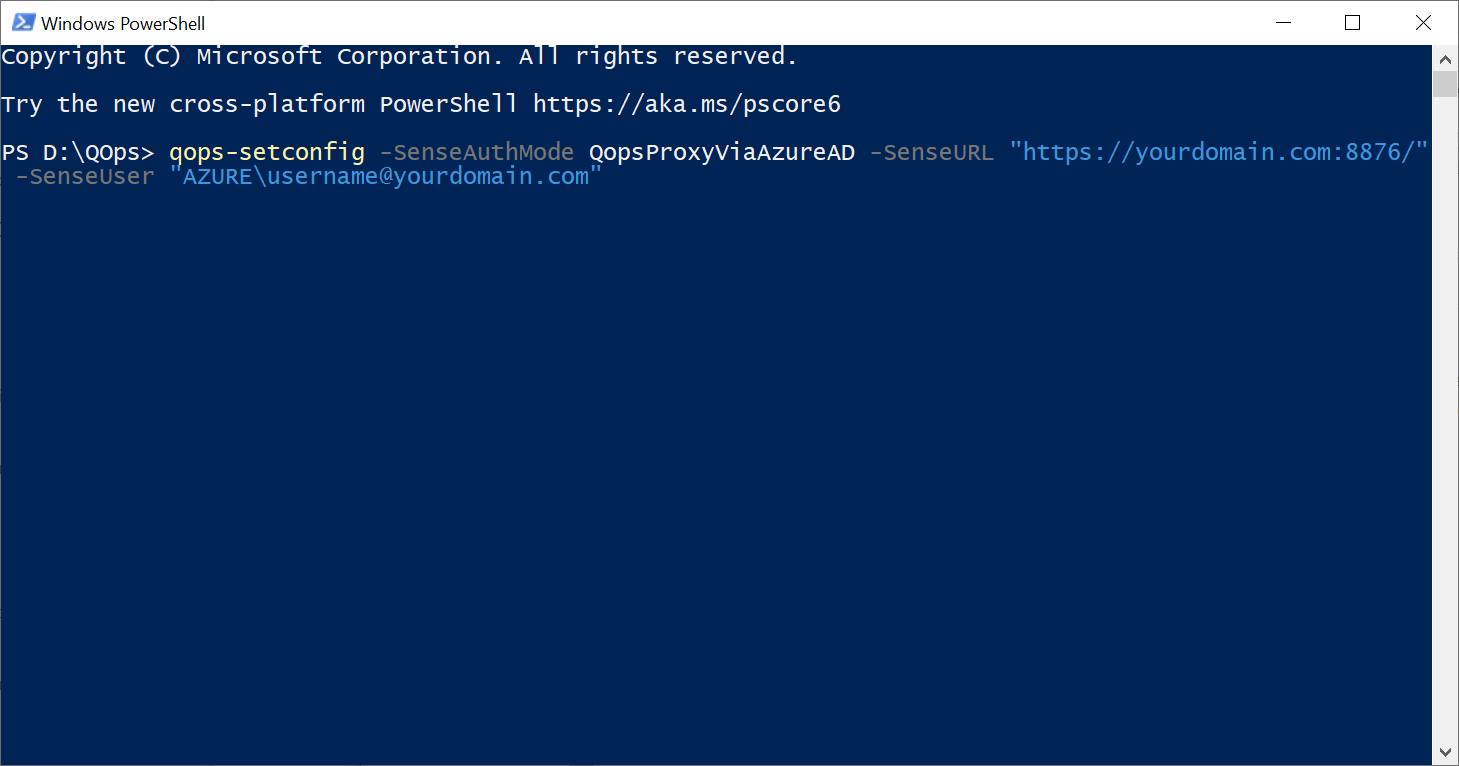
- Execute the command below to enable Azure AD authentication mode
QOps-SetConfig -SenseAuthMode QOpsProxyViaAzureAD -SenseURL "https://yourdomain.com:8876/" -SenseUser "AZURE\[email protected]"