The GitHub Action Runner provides the ability to Qlik application continuously delivery via QOps commands. This brief instruction refers to the latest GitHub documentation
The following steps will install and configure GitHub Action Self-Hosted Runner on the Windows operating system to work with QOps.
- Log in to the server via Service Account
- Create a folder in the system, ex.: C:\Actions-Runner
- Download the GitHub Action Runner binary file (64-bit) to the folder created.
- Unpack zip-file downloaded.
- Open GitHub instance, navigate to the main page of the repository
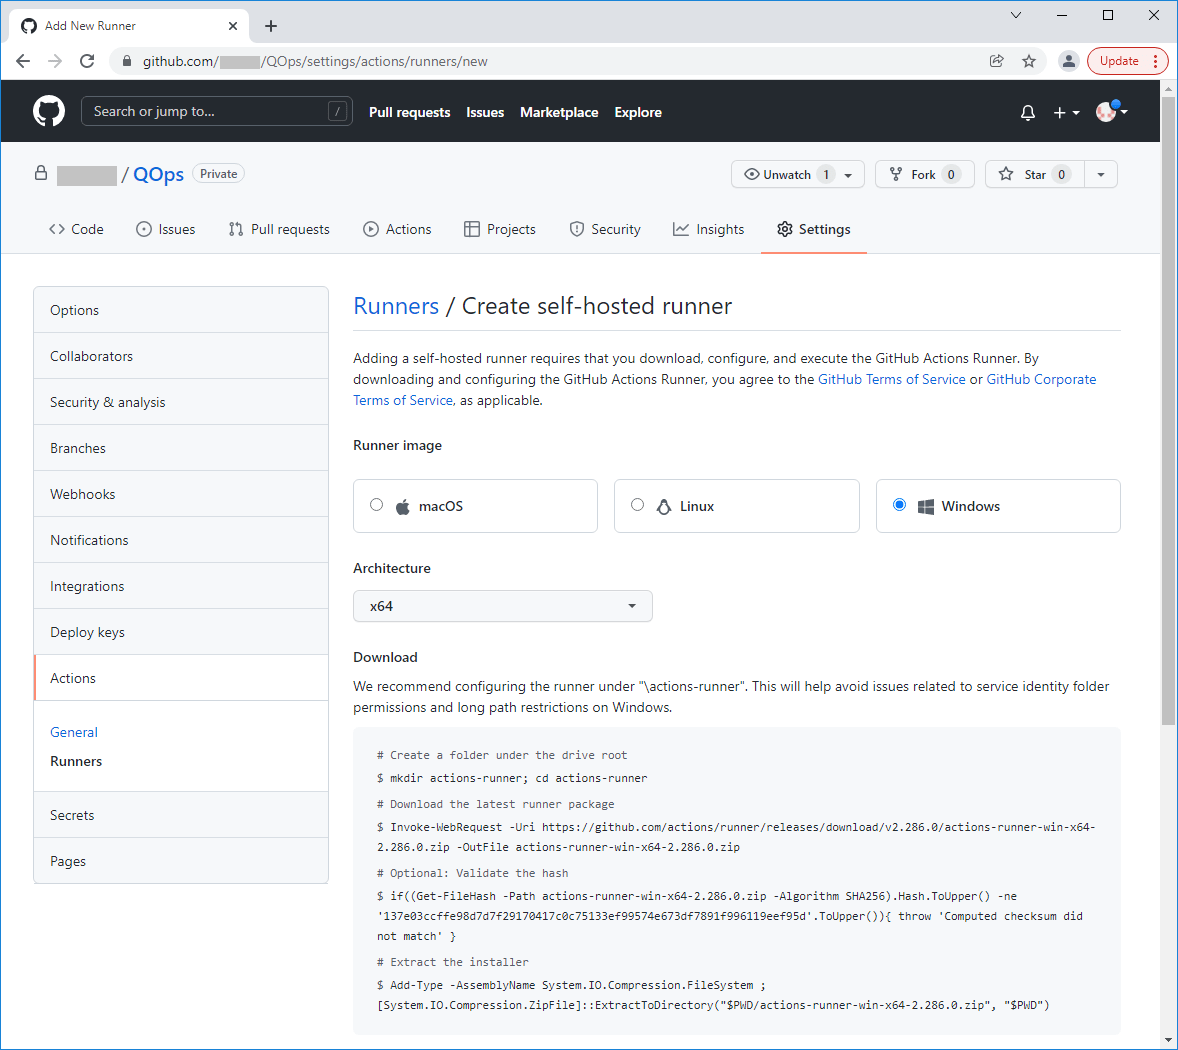
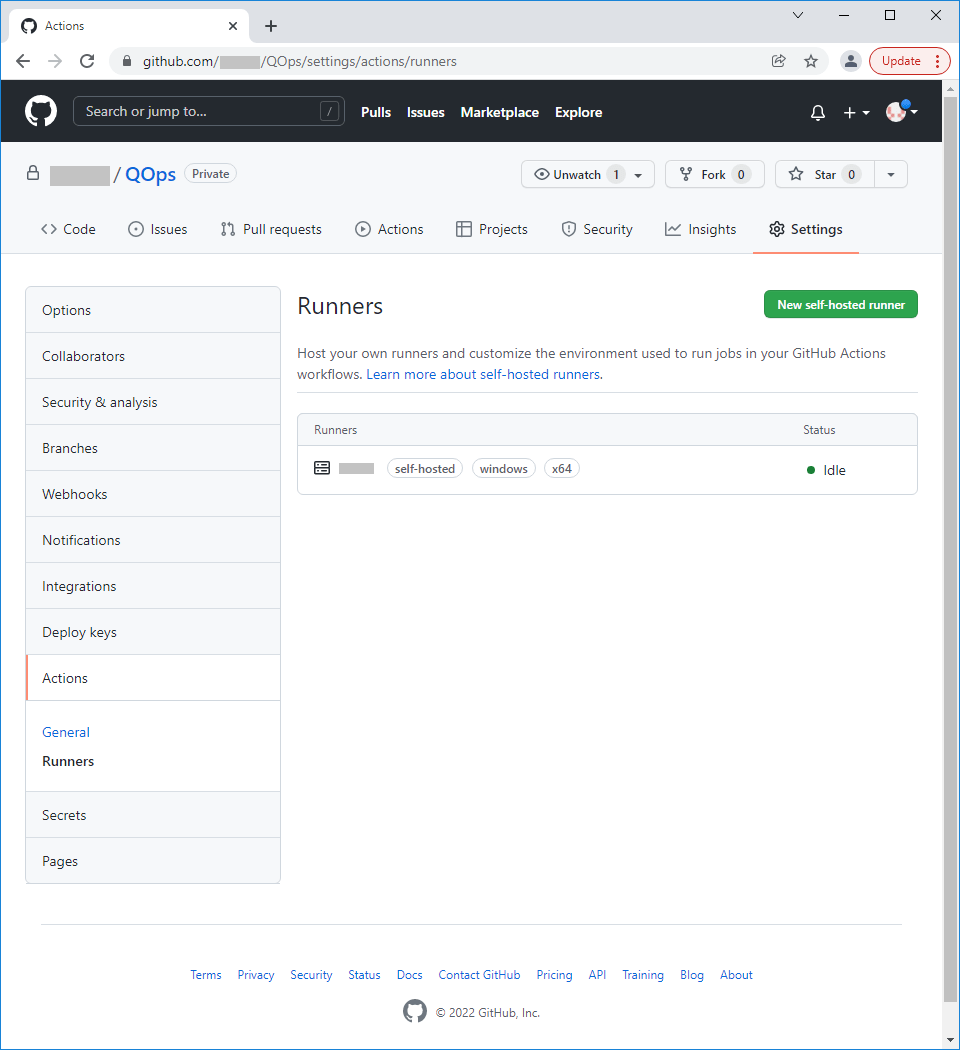
- Navigate to Settings - Actions - Runners.
- Click on New self-hosted runner

- Select Windows as Runner image, x64 as Architecture.
- Copy Configuration string with Repository Name and Token
- Configure the GitHub Action Runner
- Run CMD with administrator privileges
- Go to the directory with the GitHub runner with the command cd C:\Actions-Runner
- Execute the CMD command from the "Configure" block in Github, ex. config.cmd --url https://github.com/UserName/RepositoryName --token AUMWAF5NRE6BVIMWO5SVSWDB4V6OM
- Enter the name of the runner group or press Enter for Default
- Enter the name of the runner or press Enter for Name by default
- By default this runner will have the following labels: 'default', 'Windows', 'X64'. Enter any additional labels if needed or press Enter to skip.
- Enter name of the work folder or press Enter to agree with '_work' name by default.
- Confirm, that runner will be run as service, press 'Y' and Enter
- Enter Credentials to User account to use for the service, ex. DomainName\UserName and then Password
- Start the GitHub Action Runner, execute run.cmd file.
- Check that Runner status is Active in the Repository Name, navigate to Settings - Actions - Runners

- Create qops.yml file and include it in the <your_repository>\.github\workflows folder of the Repository. Check that labels configured match with labels used in a YML file.